XWeaver
AXDT is a Plug-In for the Eclipse IDE. Eclipse provides the update site installation mechanism which makes it easy to install new plugins like AXDT.
AXDT is installed through the Eclipse Update Manager. At this point it is assumed you have Eclipse 3.1 up and running.
From the menu bar, select Help > Software Updates > Find And Install...
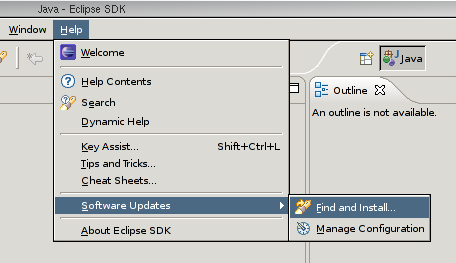
Figure 1:
In the "Install/Update" dialog that opens, select "Search for new features to install" and click "Next".
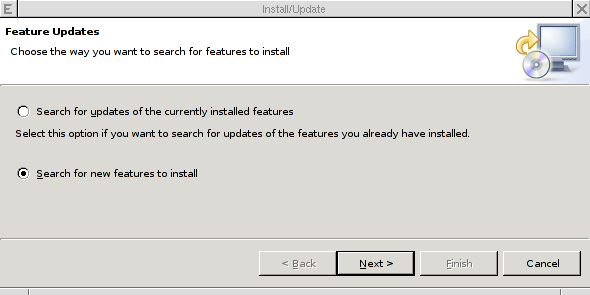
Figure 2:
In the "Install" dialog that appears, press the "New Remote Site..." button
In the "New Update Site" dialog that appears, enter a name, "AXDT Update Site", and the URL to the AXDT update site: http://www.pnp-software.com/axdt/update. Click Ok
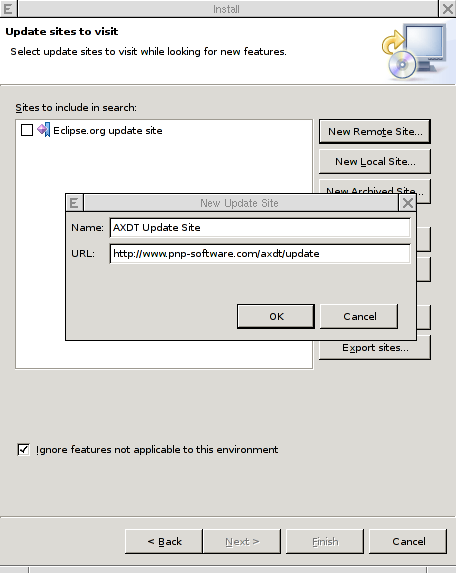
Figure 3:
The following dialog gives you the choice for the installable featrues. Please select all of them.

Figure 4: Note that if you have EMF 2.1 already installed it will not show up in this dialog